


Here's a simple DIY project we're sure everyone would enjoy making! Show extra care to your little succulents by making them new homes that give them more space to grow and at the same time, look as cute as them! These washi taped planters are easy to make. :)

MATERIALS:
Mod Podge
MATERIALS:
Mod Podge
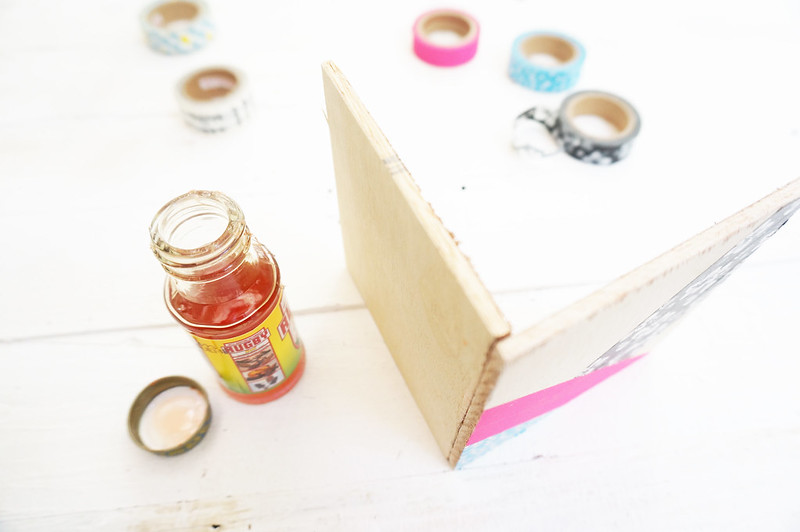
Rugby
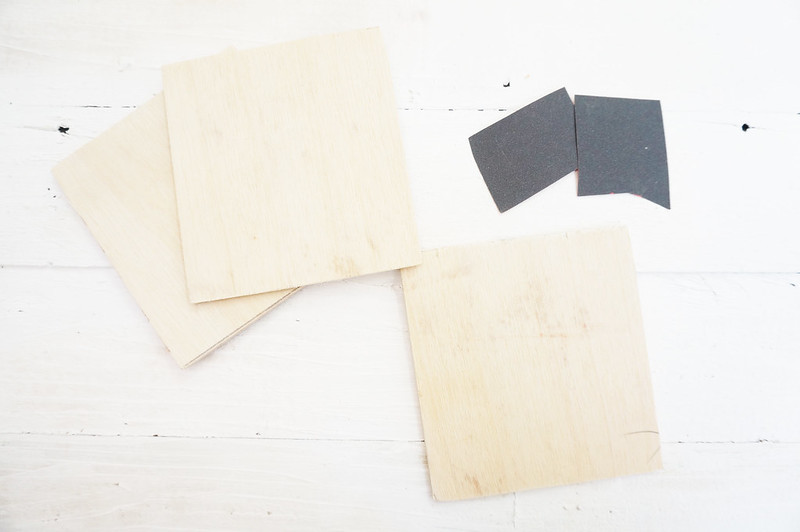
Sand paper
Sand paper

INSTRUCTIONS:
1. Prepare five pieces of small wooden planks - four of which are for the sides and the last one is the base. You can make any size as you want. For my planters, I prepared 2 different sizes.
Polish the sides and edges using sand paper. Make sure no splinters are left. This would also make it easier for you to decorate the planter.
2. Use rugby to glue the pieces together. Don't apply too much rugby so it would look neat and take only a few minutes to dry. When it's ready, use sand paper to remove excess dried rugby.
3. Use a medium-sized nail to make holes in the bottom of the planter. This is very important so that excess water can be drained.
4. Use washi tape to cover the planter. Combine different colors to create patterns. To make your planters more durable, varnish the sides with Mod Podge.


Now, you can transfer your succulents into your planters! Happy 1st of July, everyone! :)
No comments :
Post a Comment